
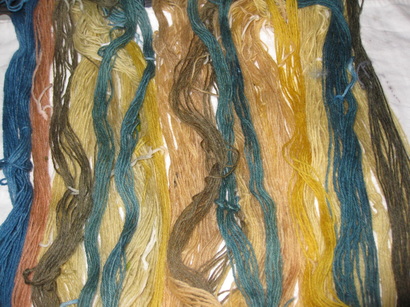
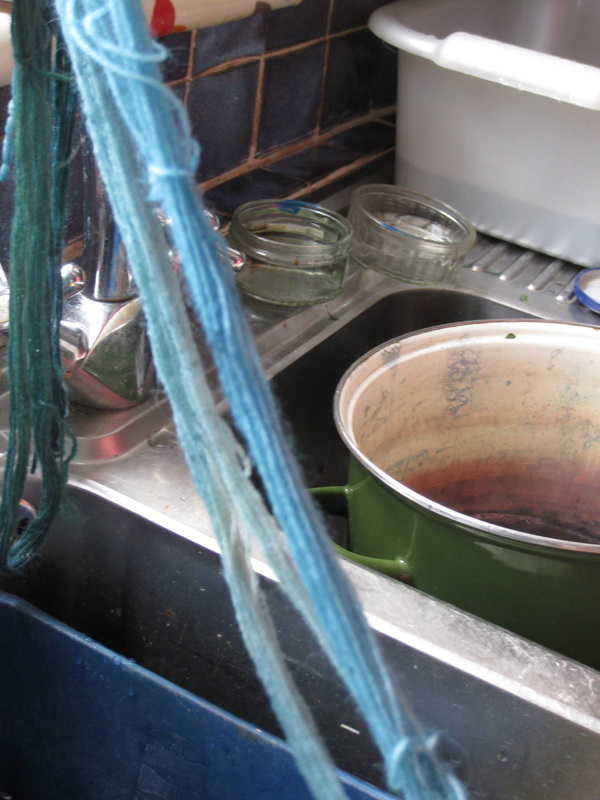
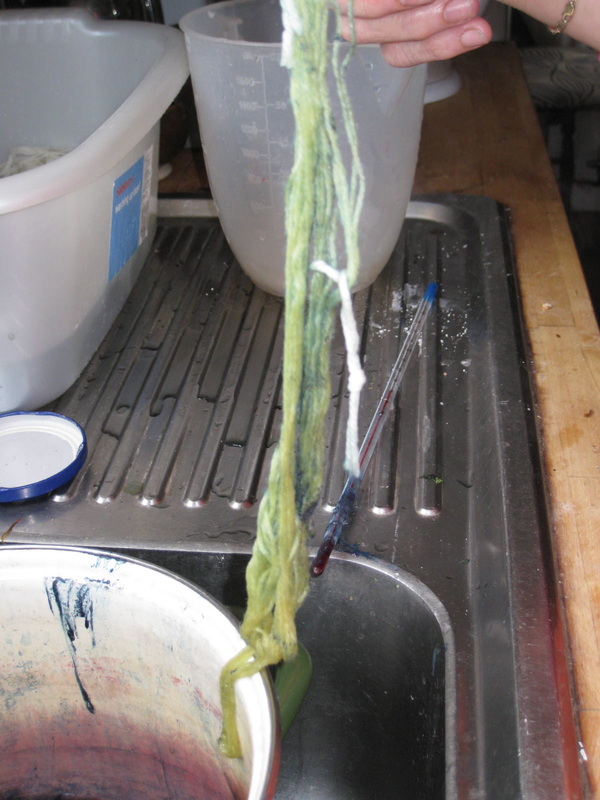
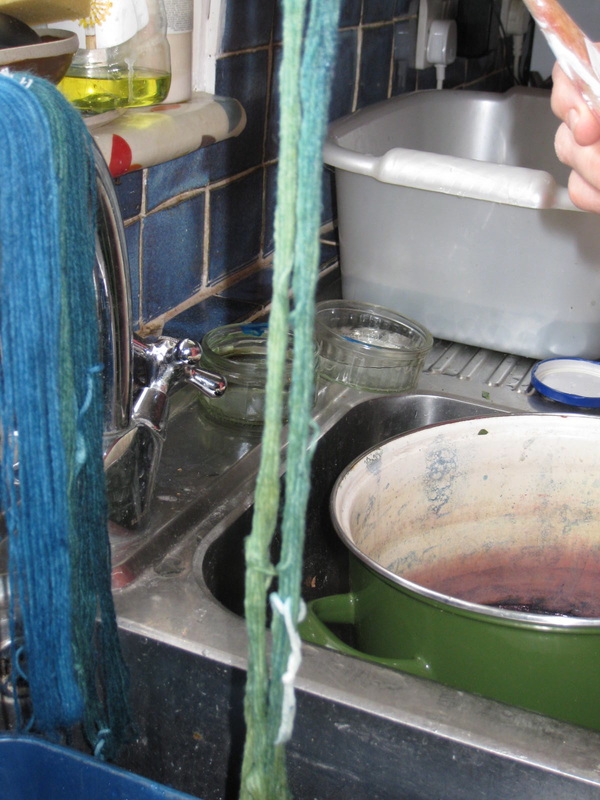
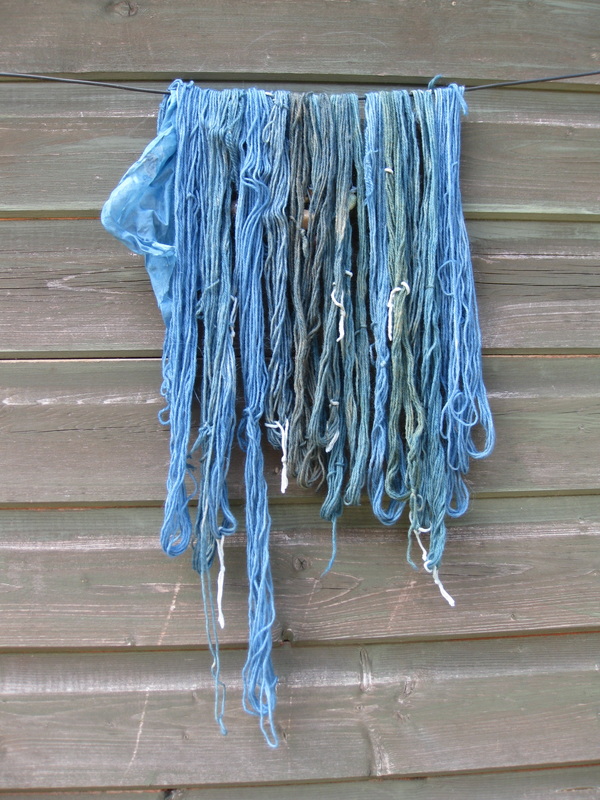
The last dye day of our year-long project Four of us gathered to see what colours we would obtain on this dark December day! We had birch bark, ginkgo biloba bark and privet, all of which had been soaked for at least 2 weeks and simmered for a couple of hours. The birch bark had been heated and left to cool before being heated again. 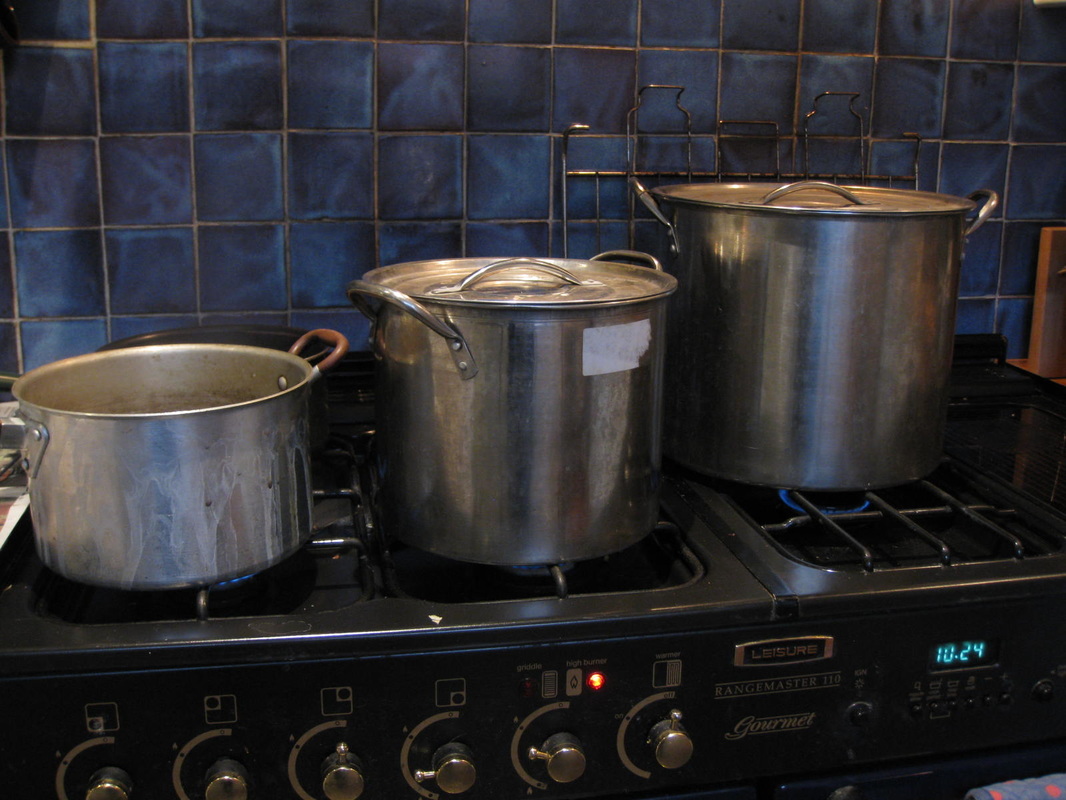 The privet was chopped up with secateurs and the birch and ginko bark stripped with a knife: The birch bark produced quite pale but pretty pink colours - apricot pink without any modification, slightly more pink with washing soda - except the grey which was the result of the iron modifier. The ginkgo was fairly nondescript and probably not worth trying again and the privet produced good strong golds, yellows and greens  We will be overdyeing one skein from each dye bath with woad (blue) and one with madder (red), which will add to the range of colour, and one skein of each is being tested for light-fastness.
All the results of our experiments will be displayed at an exhibition in the Coach House Gallery, Winterbourne House and Garden 1-25 April 2016 where we also hope to have spinning wheels and a tapestry weaving loom set up for people to try.
0 Comments
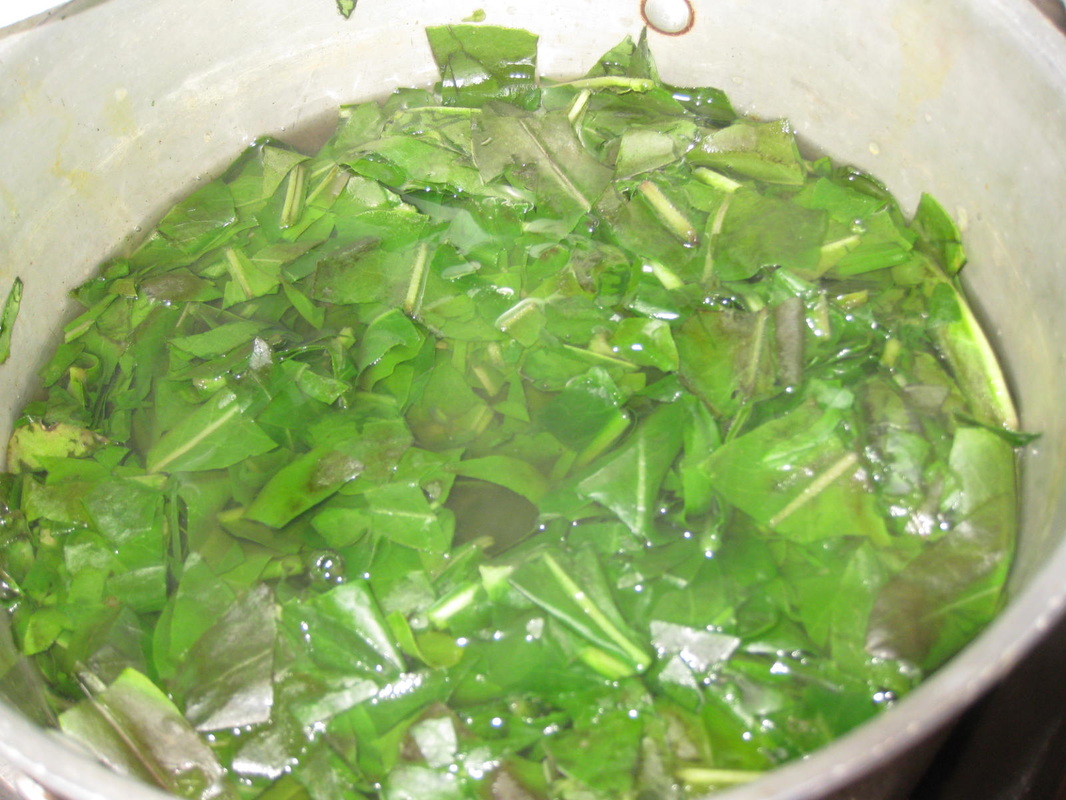
Autumn leaves seemed an appropriate start for this month's dyeing experiments and the gardeners at Winterbourne had supplied us with a bag of fallen leaves of Liquidambar Styraciflua. Sadly, I don't have a photograph of it in all its glory - only of the leaves ready to be soaked in a bucket or water, where they stayed for about 4 weeks. 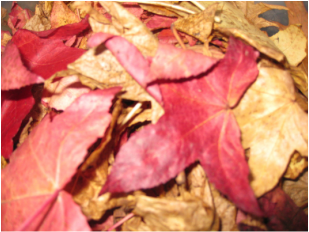 Our second dye bath was Eucalyptus leaves, which had also been soaking (after being chopped up) as an initial 'cooking' of about an hour had yielded not colour in the water at all. The kitchen smelled lovely during the first cooking as the eucalyptus oil evaporated!  Thirdly, we had Garrya Eliptica, which had been soaking for just 48 hours before being simmered:  Here are the dyed skeins with, starting on the left, Eucalyptus, Garrya and Liquidambar 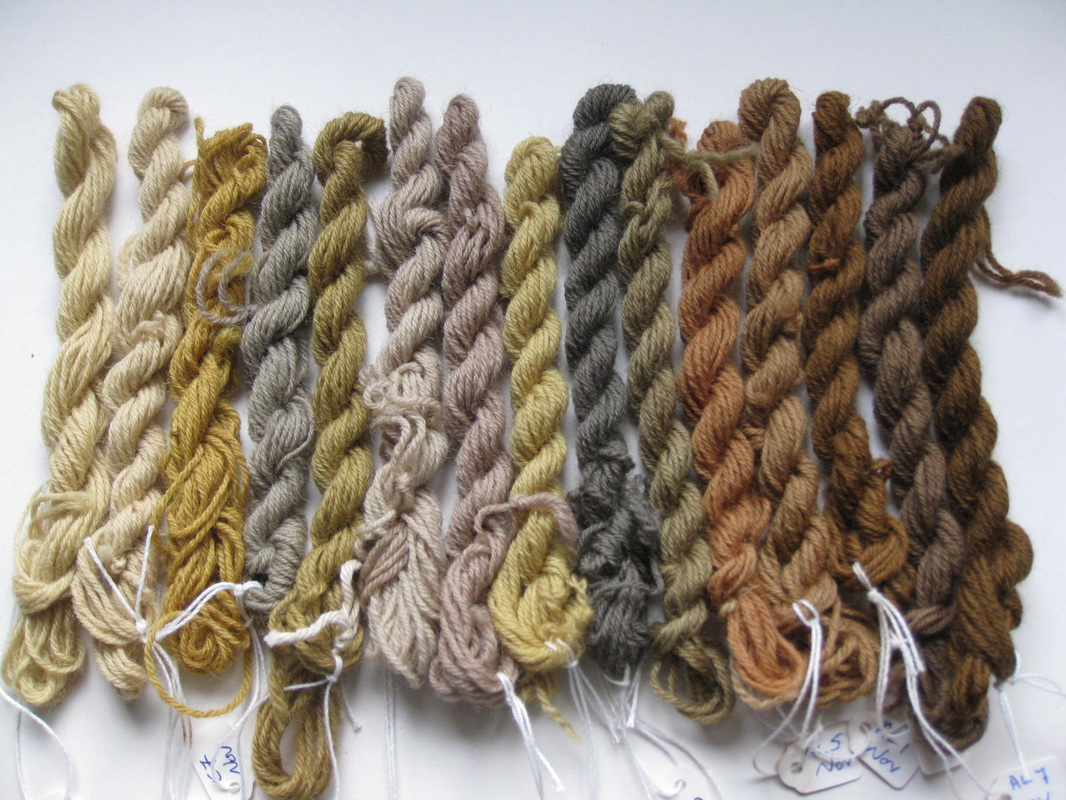 Eucalyptus, Garrya, Liquidambar ... and here are the skeins arranged according to their treatment. In each group of three the Eucalyptus is on the left, the Garrya in the centre and the Liquidambar on the right. Skeins 1 - 4 are mordanted with alum (see the first post in this blog), No. 1 are the basic colours without any modification, 2 are modified with acid (very little change), 3 are modified with an alkali (washing soda), 4 with iron water and 5 were on an alum mordant. 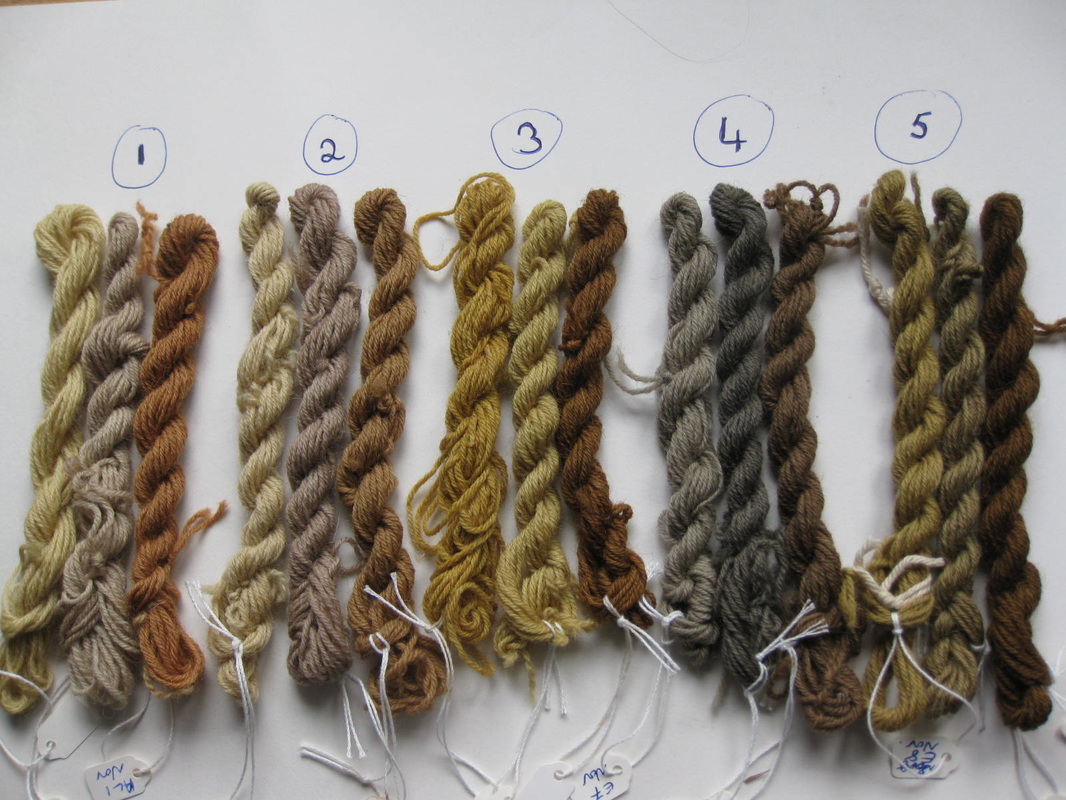 ... some useful Autumn colours, and the the rich browns from the Liquidambar are particularly good.
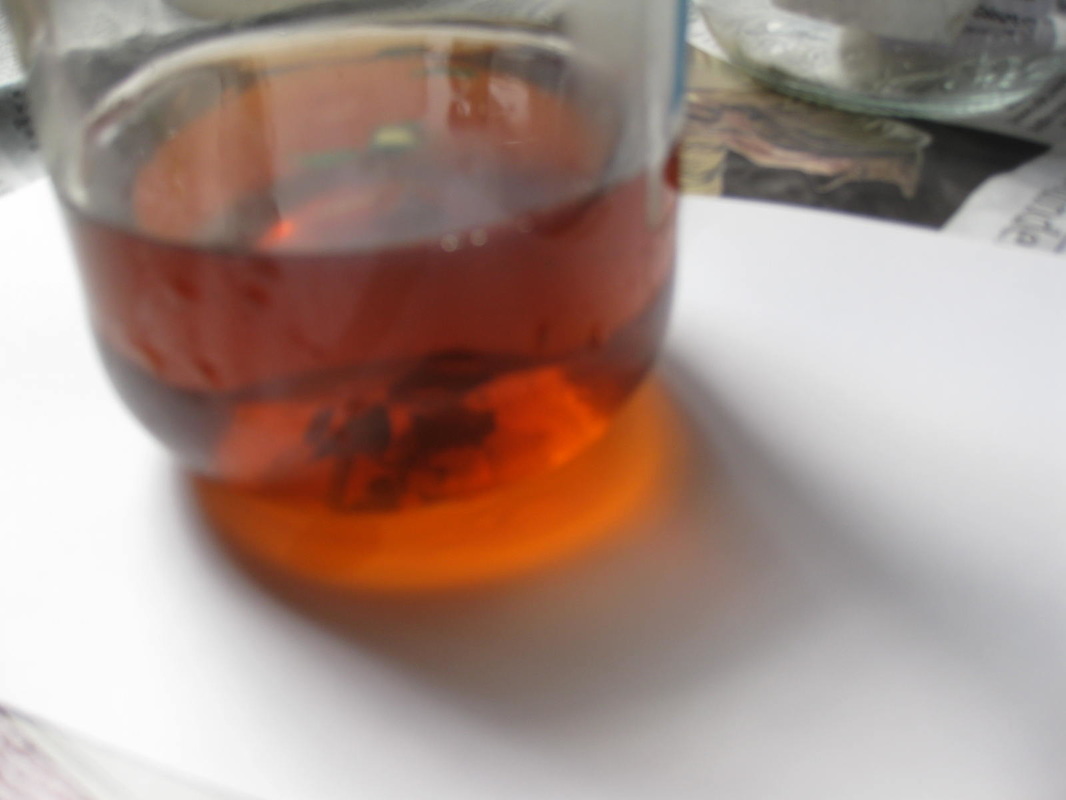
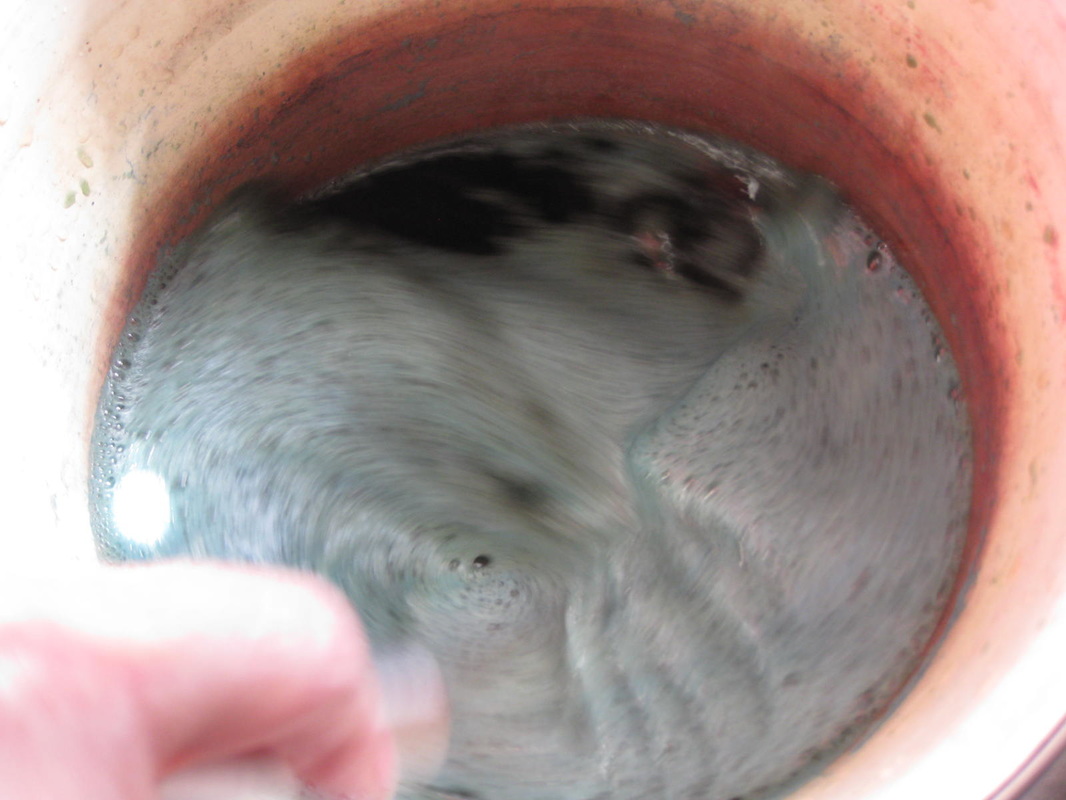
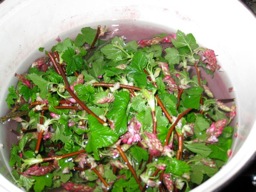
December will bring our year of dyeing with plants from Winterbourne to an end and the results will form part of an exhibition there next year. This month we were delighted to be given some fresh madder roots, grown in one of the greenhouses at Winterbourne. We also used the roots of flag iris and leaves and twigs of Rhamnus Cathartica or Alder Buckthorn, both growing in the woodland walk. Madder Above ground, madder plants are rather straggly with rough, scratchy undersides to the leaves. These plants are growing in containers in my garden: 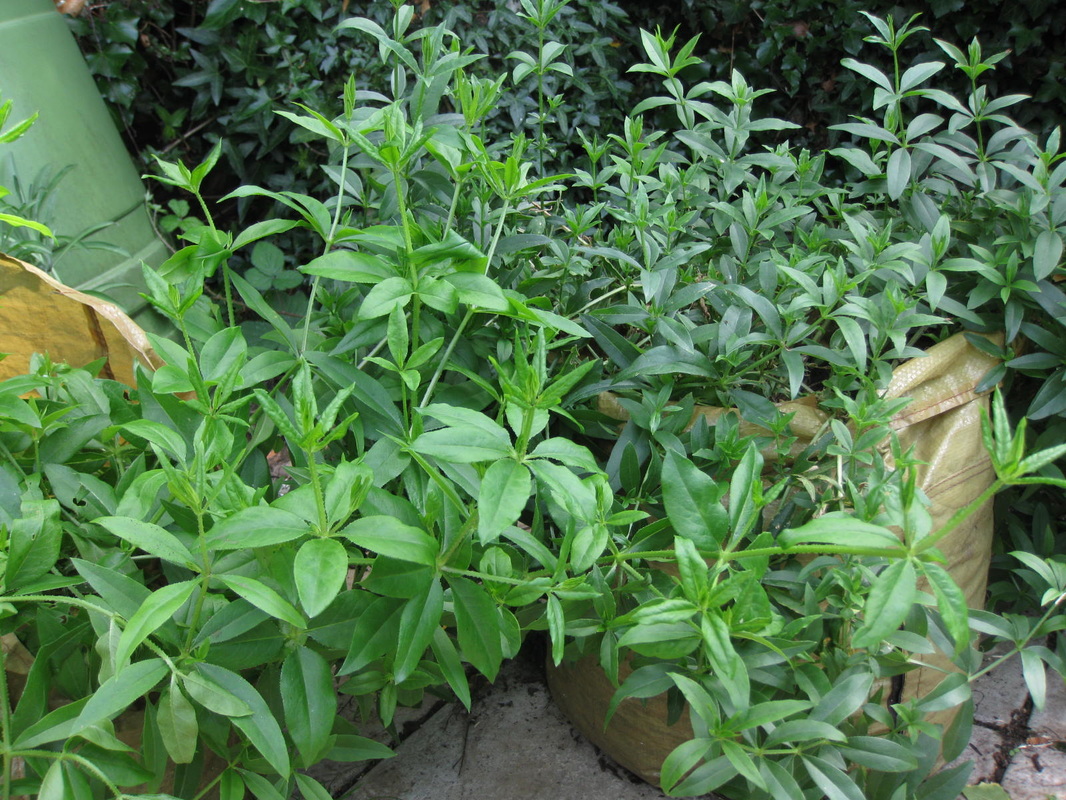 The tops are beginning to die down now but it is the roots that are used for dyeing. Madder has an extremely long history as a dye plant going back at least to 2000 BC (see J N Liles, The Art and Craft of Natural Dyeing, University of Tennessee Press, Knoxville, 2010) and was used to dye the red coats of British soldiers. The roots are usually left undisturbed for three years before digging up for use: 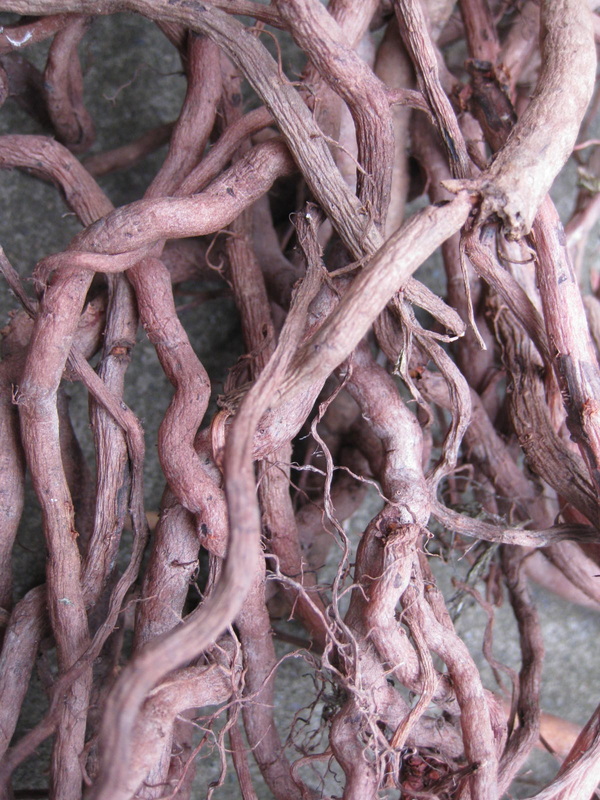 We chopped up the roots, poured boiling water over them and drained them a couple of times as recommended by Jenny Dean (A Heritage of Colour, Search Press, 2014) (I think I have read somewhere that madder roots contain more than one dye and that washing them in this way helps to obtain clear colours - but I may be quite wrong about this!) We went on to dye in the usual way but with a few additions. We split the 'washing' liquor into two and added washing soda to one pot and put a skein in each and left them overnight with no heat. We also put in an un-mordanted skein and modified one skein with washing soda followed by iron water. Lastly, most recipes for madder stress that the temperature should be kept below boiling on a gentle simmer, but we let a couple boil for 10 minutes - and these are the results: (the two right-hand skeins have been boiled) 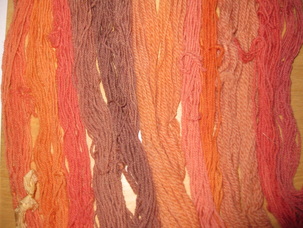 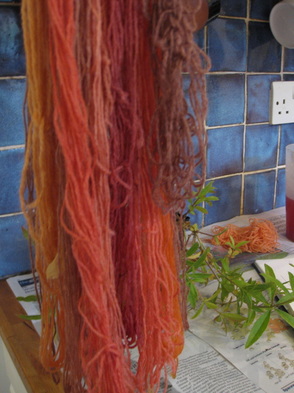 Iris root 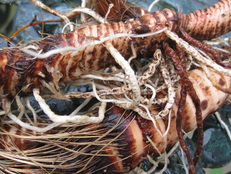 I had read that sometimes you can get black from iris roots. Not this time.... 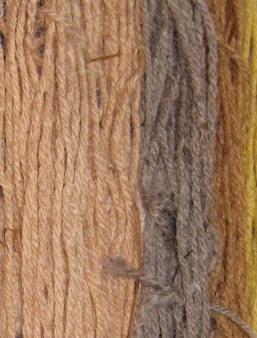 However, we have left the roots soaking to see if anything happens! Our third dye this month is the Alder mentioned above: 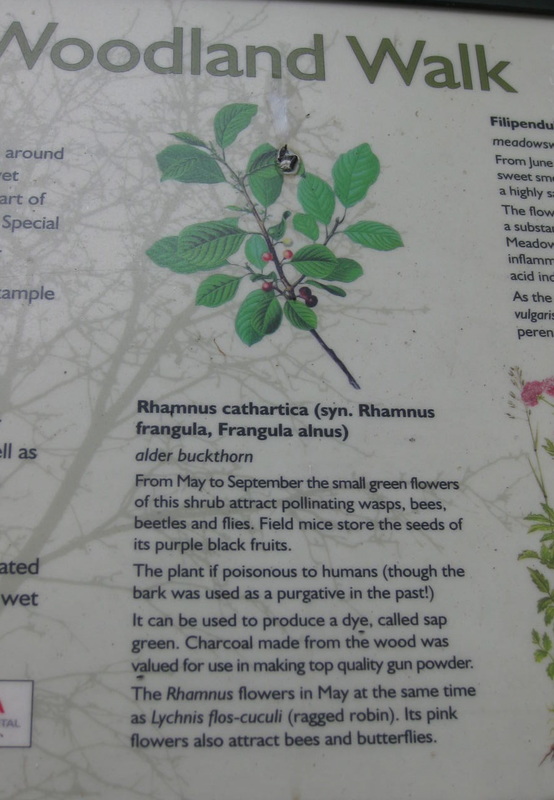 Winterbourne and here are the leaves and twigs ready to be soaked overnight for dyeing: 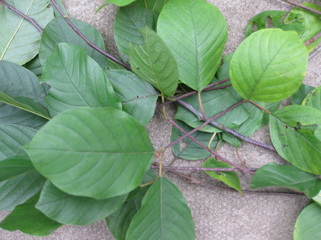 I'm not sure I would describe any of the colours as 'sap green' but as all parts of the plant can be used it would be good to try the bark and the berries separately from the leaves. 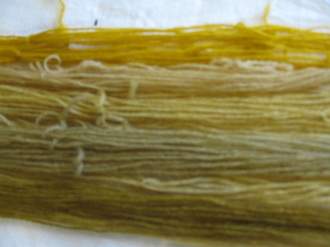 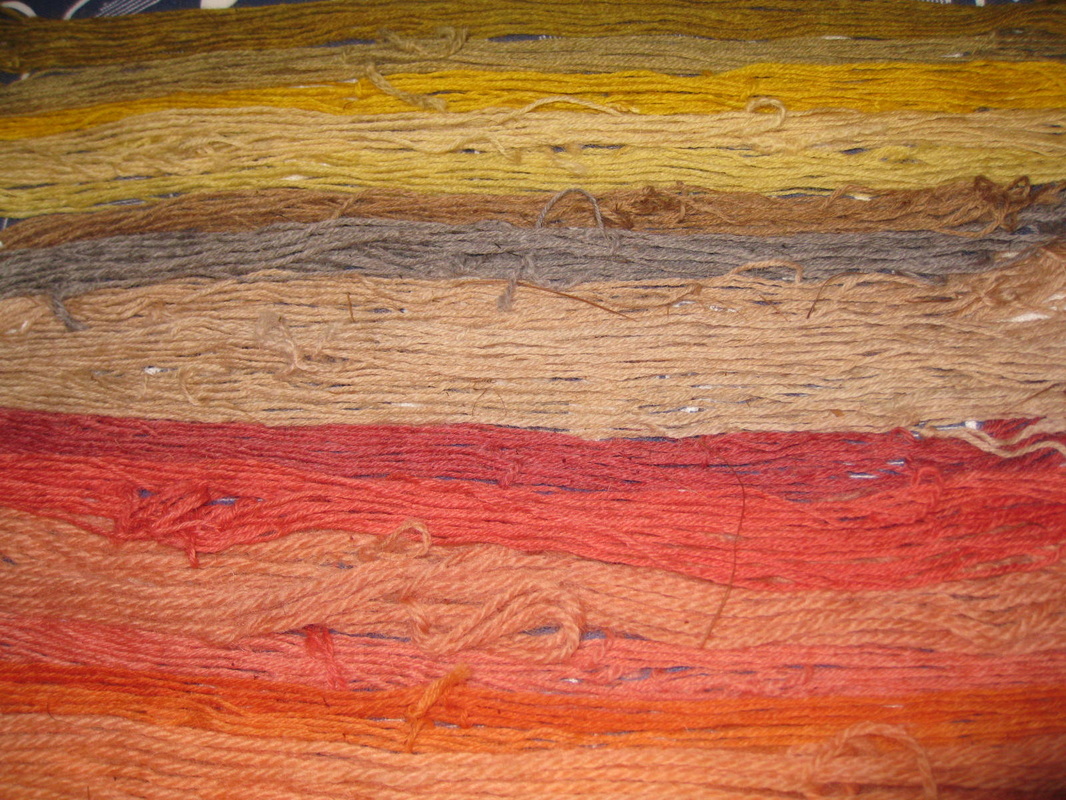 So, the madder was definitely this month's star but they do look beautiful all together!
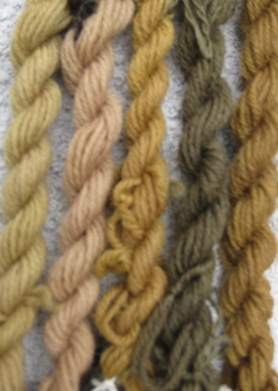
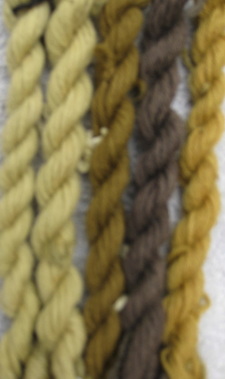
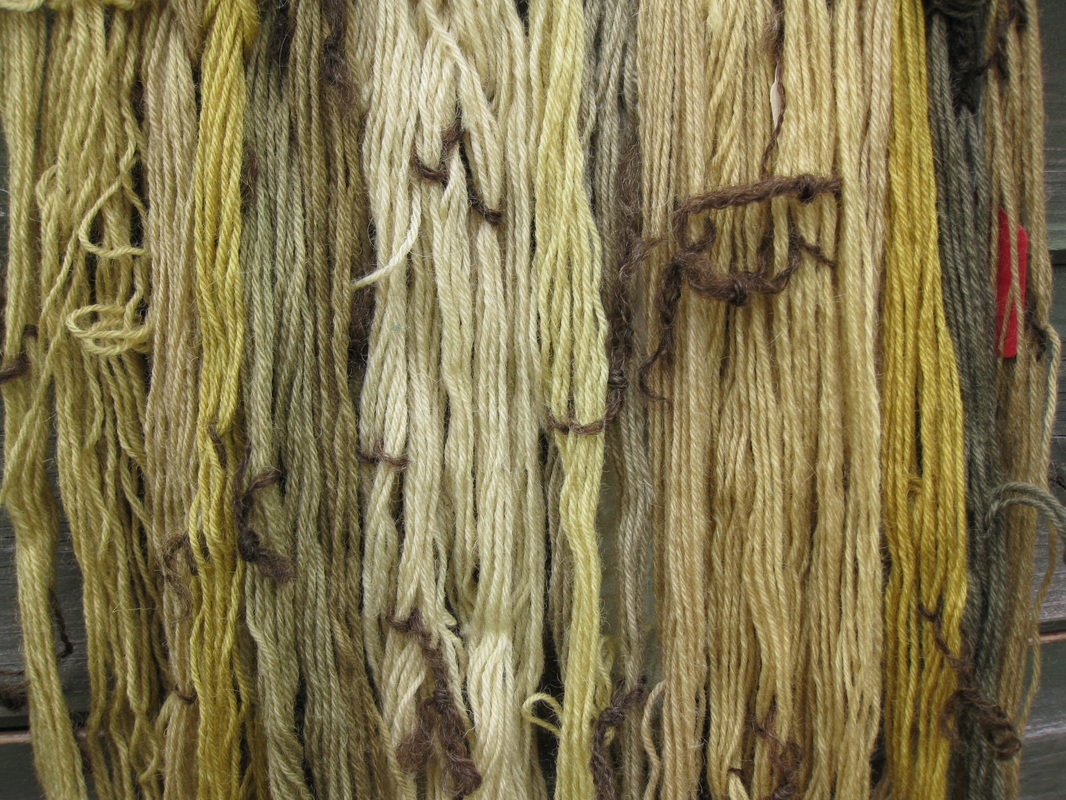
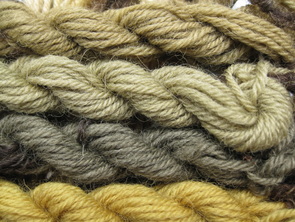
The walled garden at Winterbourne is looking lovely, especially in the lovely sunshine we have been having for the past few days. This weeks plants are all growing in the walled garden. They are Asters (or Michaelmas daisies) 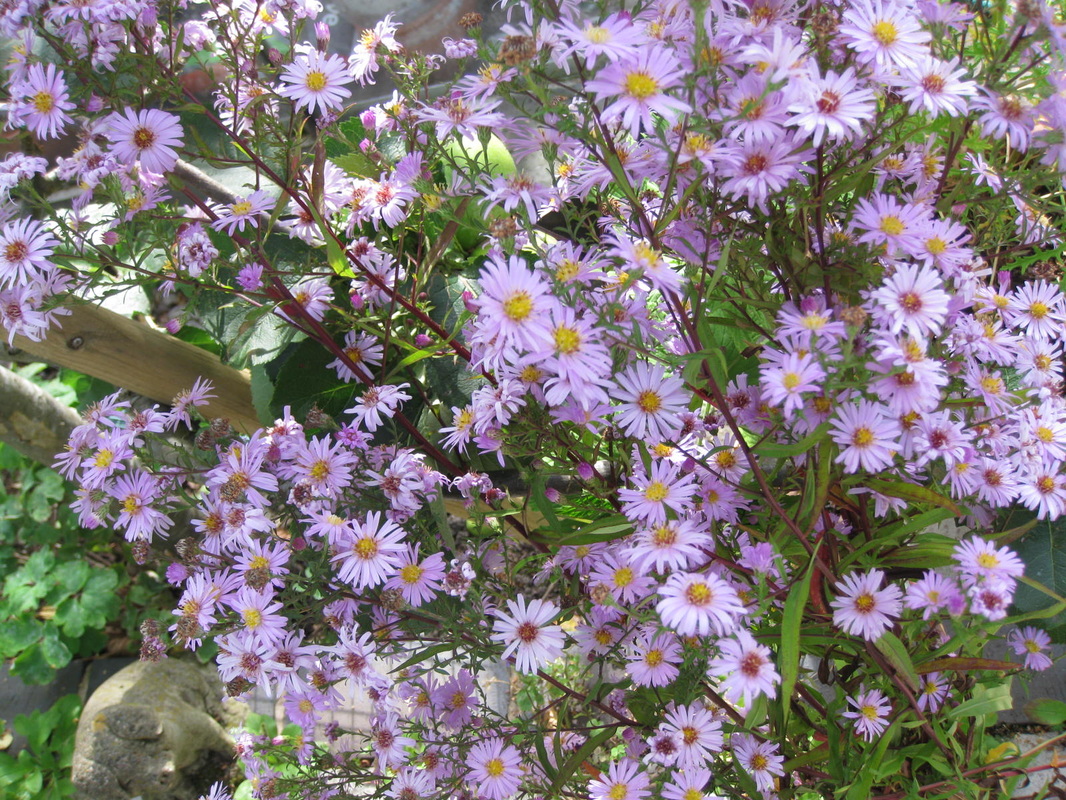 Calendula (or English marigolds) 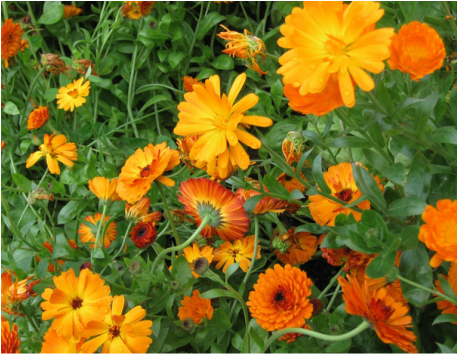 and Rudbeckias 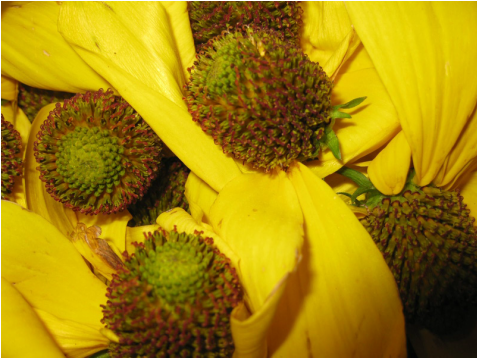 As you can see, the results are very similar: from left to right: Calendula, Rudbeckia, Aster. There is, in fact, more difference 'in the flesh' than appears in the photos, with the Asters giving the best colours and, as usual, the addition of an alkali in the form of washing soda, giving the strongest yellows, the iron modifier giving grey-greens and the copper mordant giving green and bronze-green. These colours are slightly more accurate: 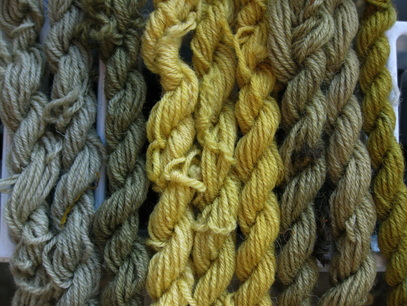 The first three (Calendula, Rudbeckia, Aster) are modified with iron, the second three (in the same order) are modified with washing soda and the final three are on a copper mordant.
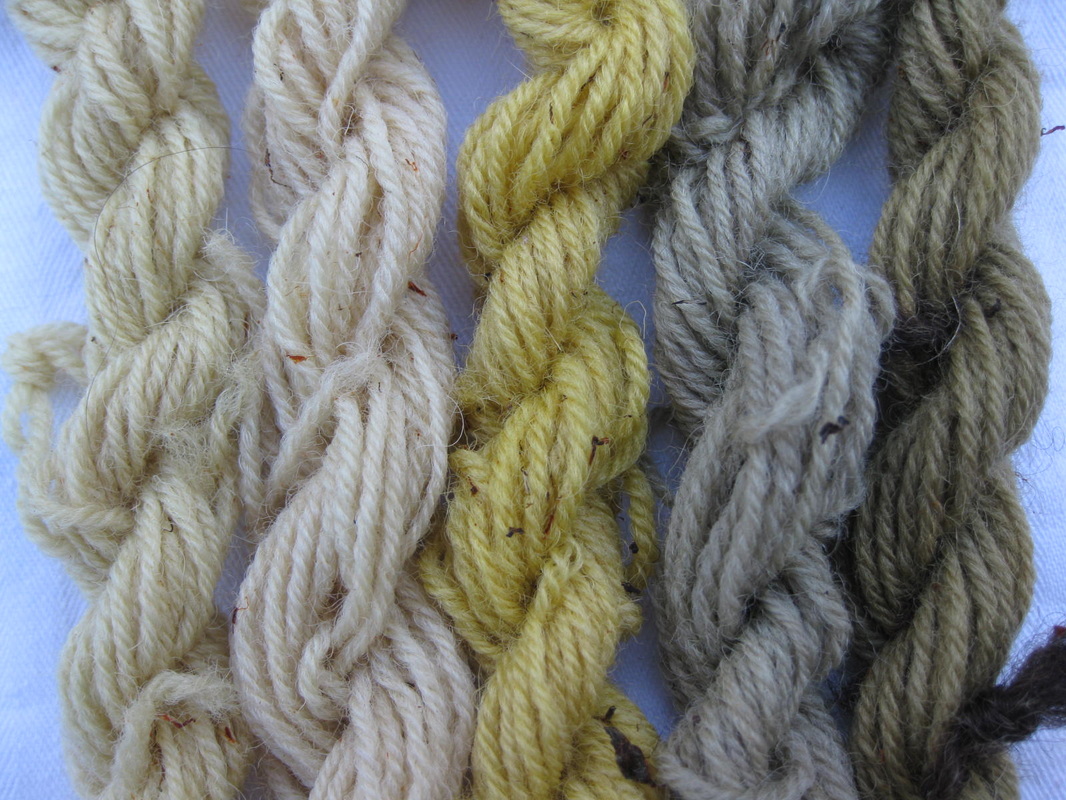
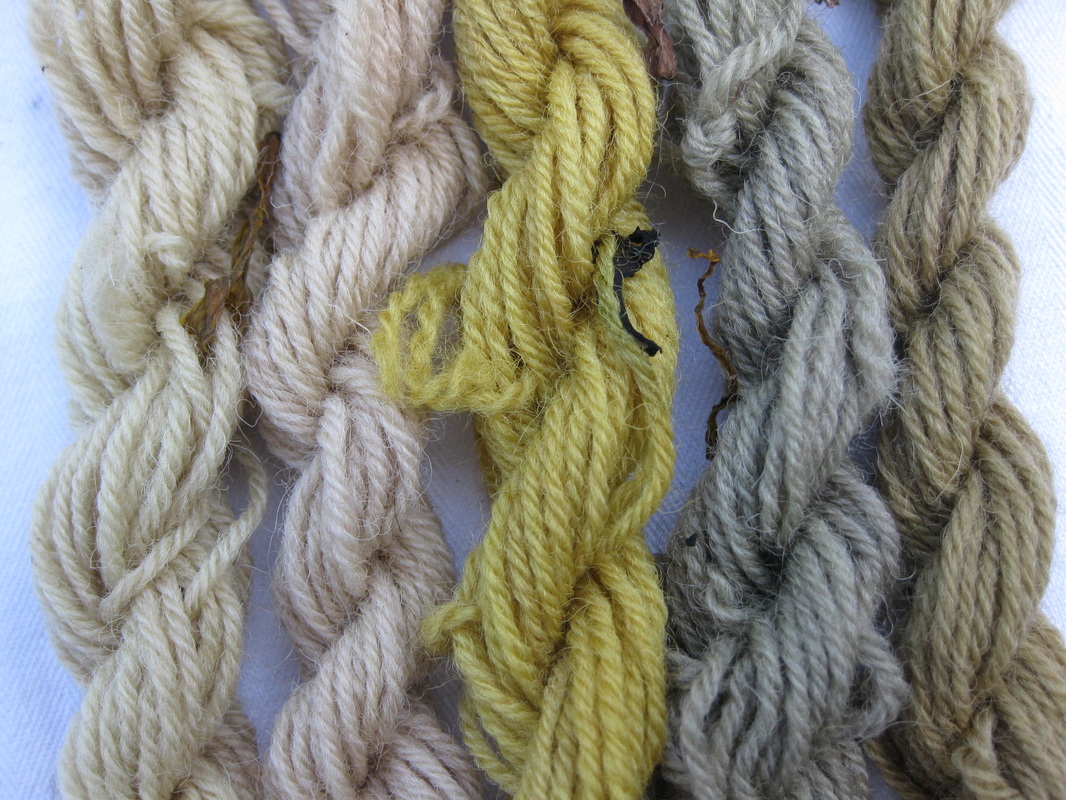
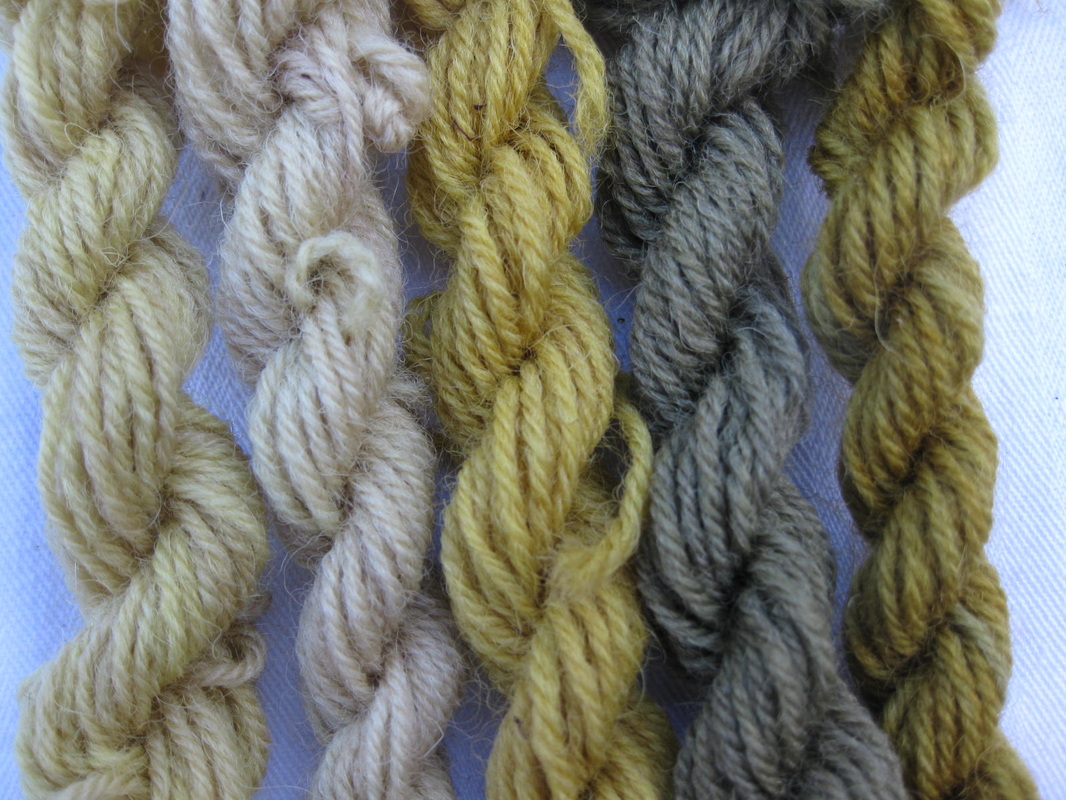
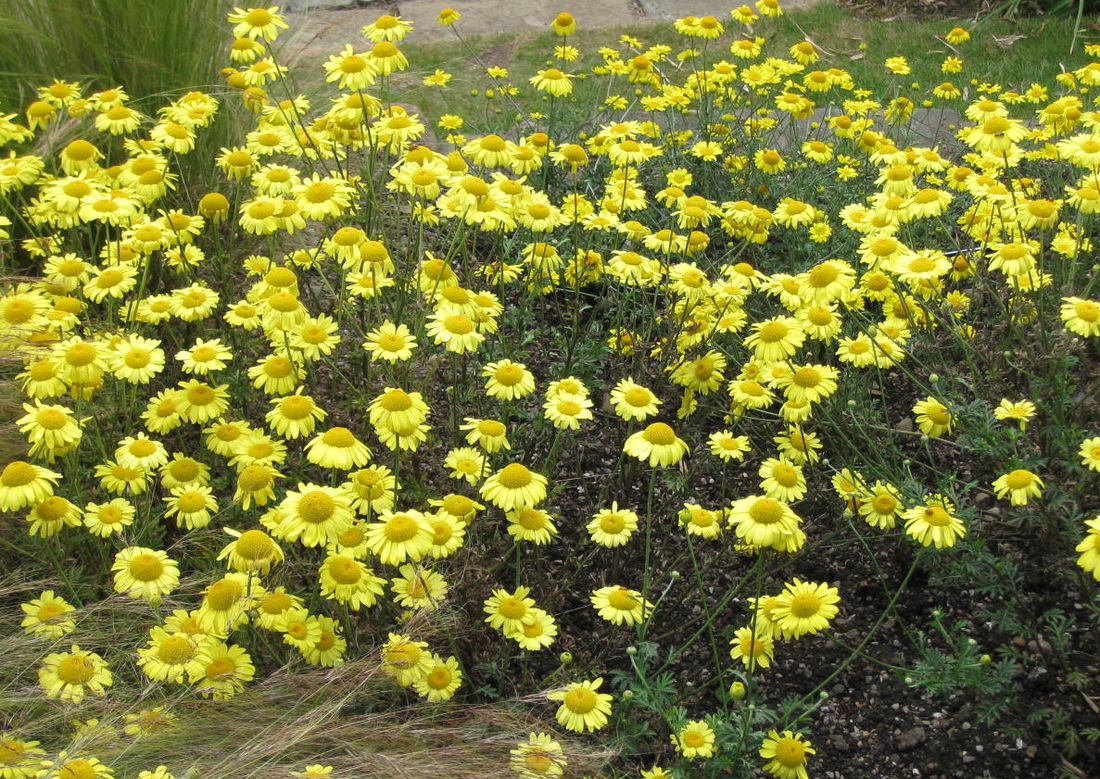
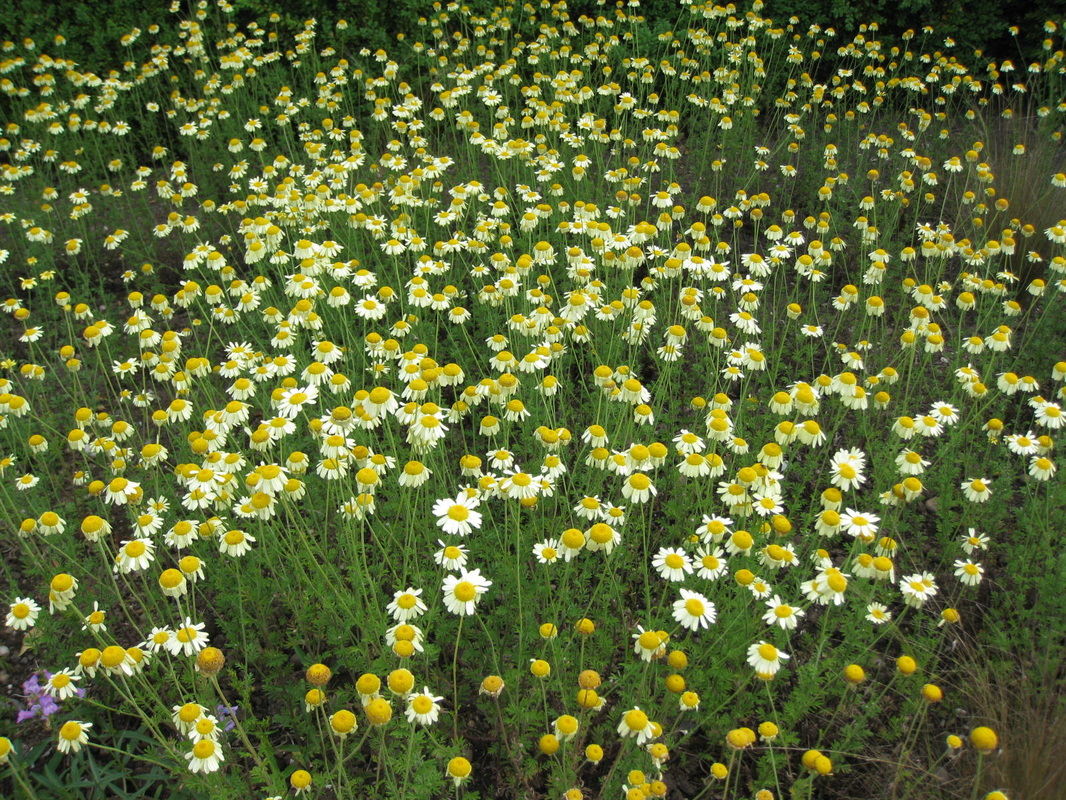
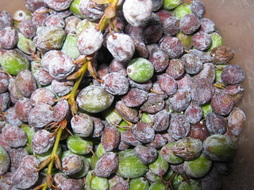
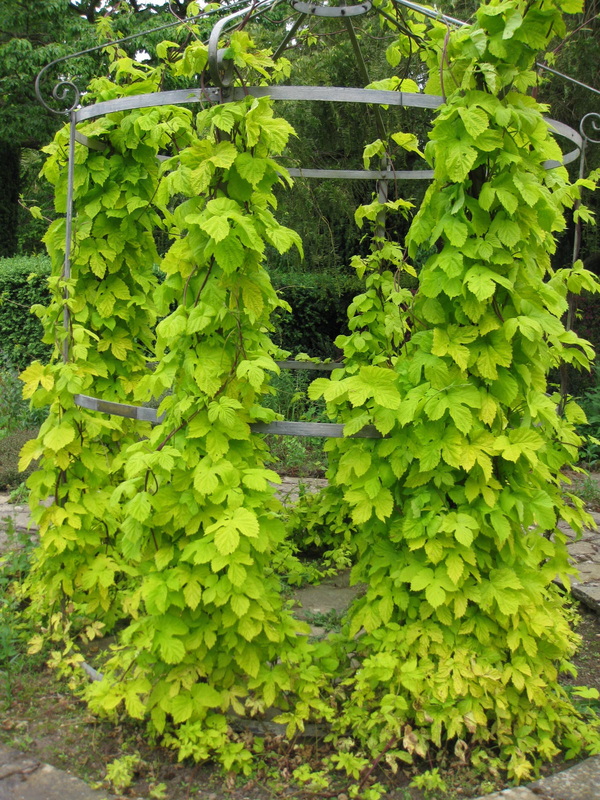
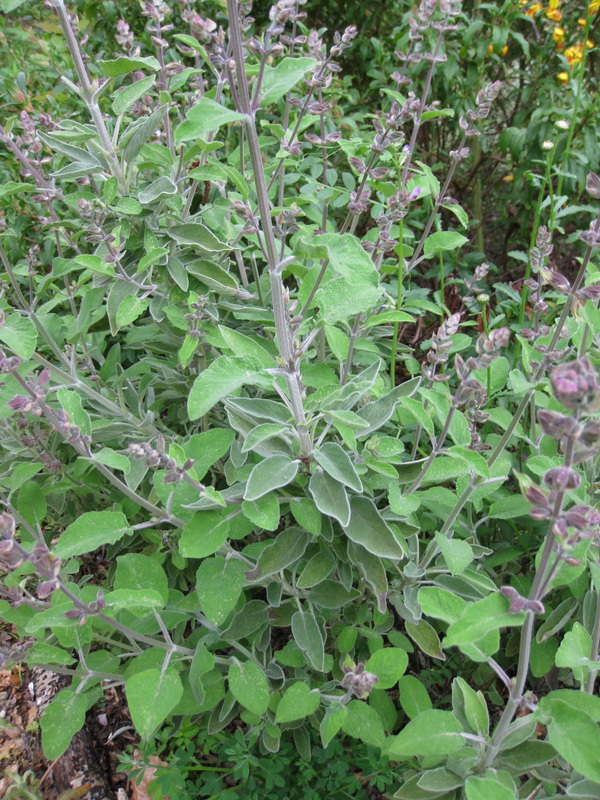
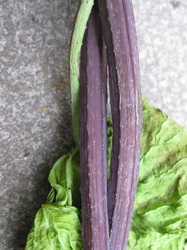
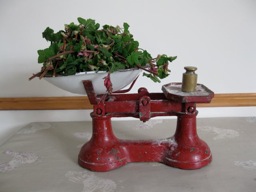
August saw us using Goldenrod (Solidago), Valerian and Dahlias (we used dahlias back in March, I think it was, but they were frozen and we wondered if using them fresh, just as they were beginning to fade and be dead-headed, would make any difference).  Goldenrod  Valerian 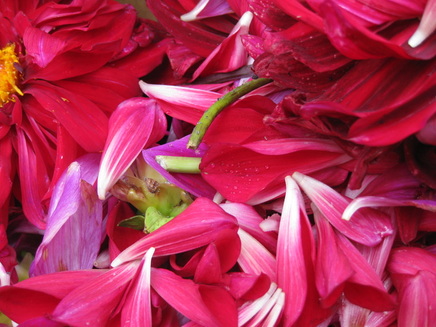 Dahlias The goldenrod and valerian were cut up, soaked in cold water overnight then simmered for about an hour. The dahlia petals, without any other parts of the flowers, were soaked overnight in cold water and, as this produced a lovely red liquid, we heated it only gently and for a shorter length of time. 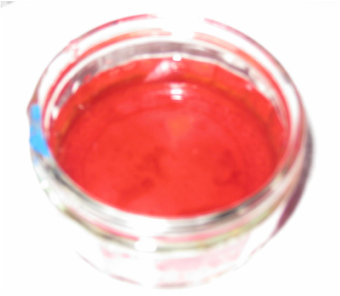 the dahlia dyebath before heating The Results From left to right: standard colour, modified with acid, modified with alkali, modified with iron and with a copper (rather than alum) mordant: 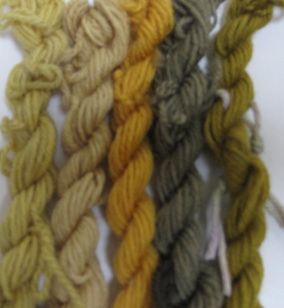 fresh dahlia petals - I wonder whether a different method of extracting the colour would produce more of a pink? 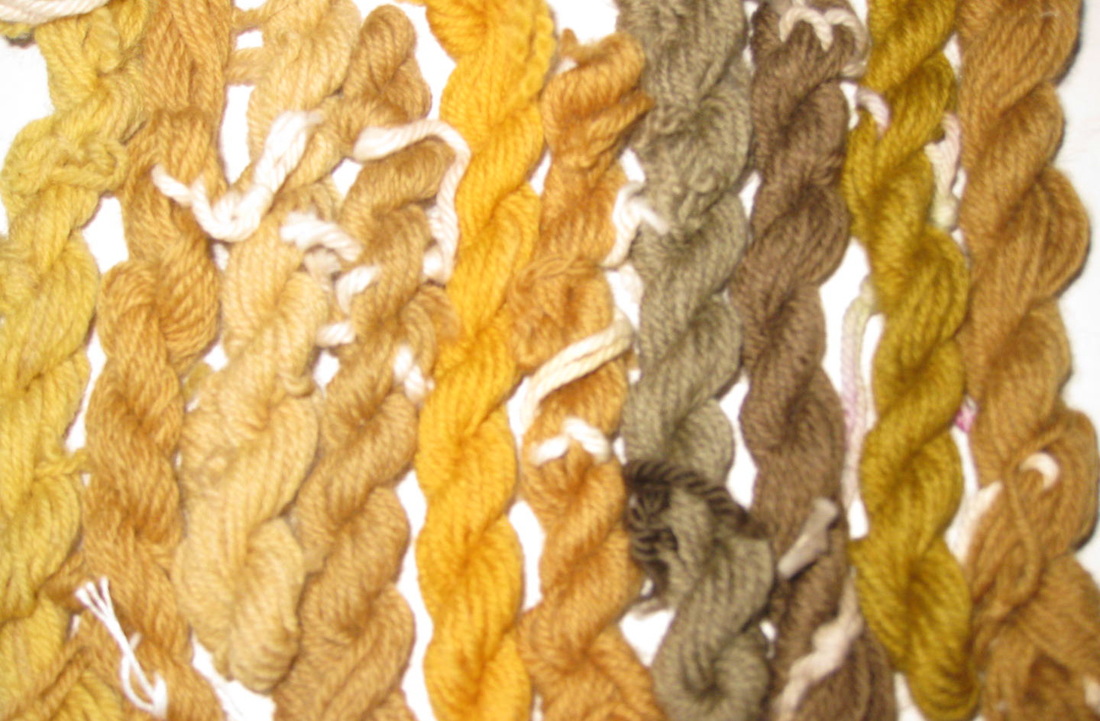 The fresh dahlias with the frozen ones to the right of each skein. Not very good photographs I'm afraid, the first photograph shows the green shades better but you can see that the frozen dahlia petals produced more brown shades. This is by no means an accurate comparison as the frozen dahlias were also heated for longer... 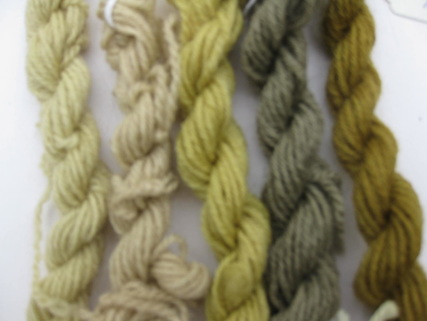 Valerian 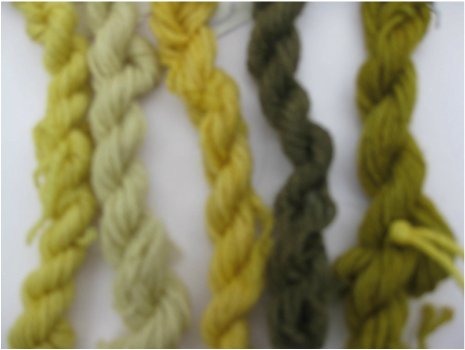 Goldenrod As mentioned the other day, Winterbourne hold the National Collection of Anthemis:  In case you wonder, as I did, just what it means to hold the National Collection, this is what is written on the notice at Winterbourne: "The Plant Heritage mission is to encourage the conservation of cultivated plants in the British Isles, preserving our magnificent plant heritage and educating the public in the importance of cultivated plant conservation. The National Plant Collections Scheme aims to create and maintain 'living libraries' or individual species cared for by dedicated specialist growers, individuals or organisations." More details of National Collections can be found here: http://www.nccpg.com/National-Collections.aspx - including a list of endangered plants - important to know if you want to collect dye plants from the wild.
|


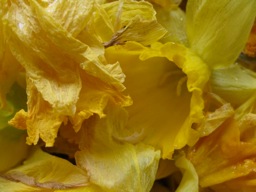
| Hoping to dye with daffodils from Winterbourne this month, and looking forward to seeing what else they might have for us to try. | 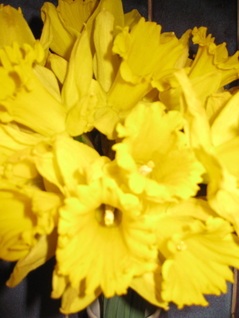 |
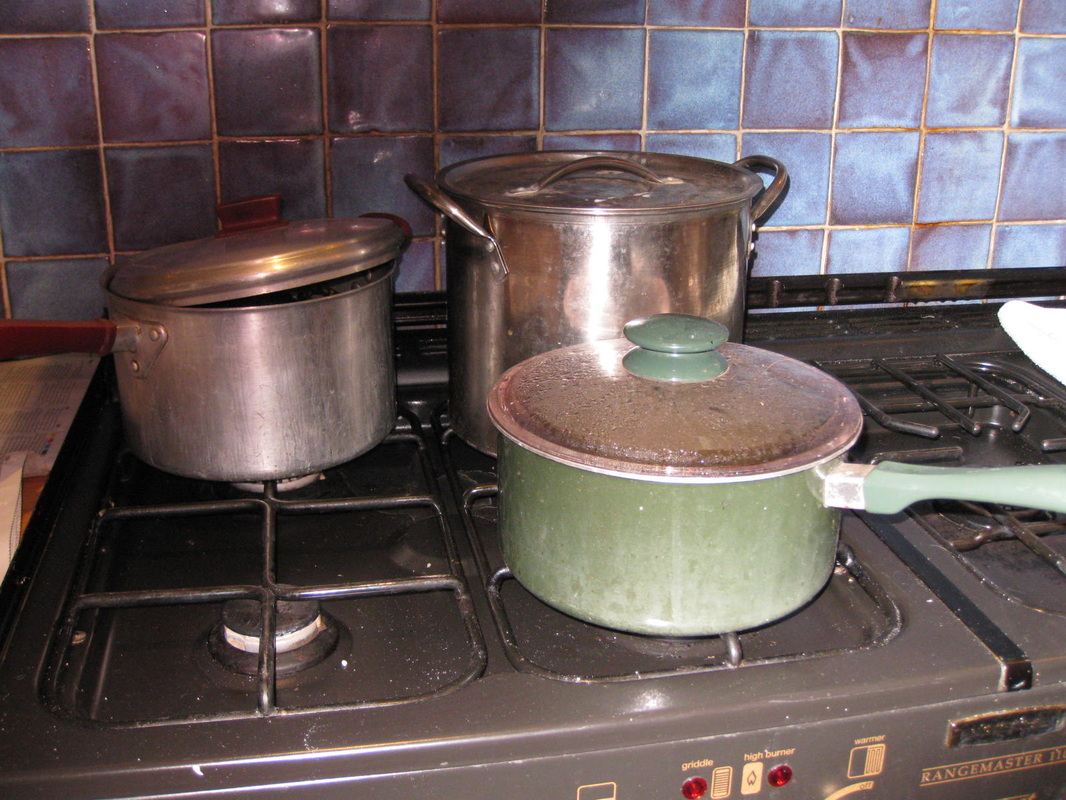
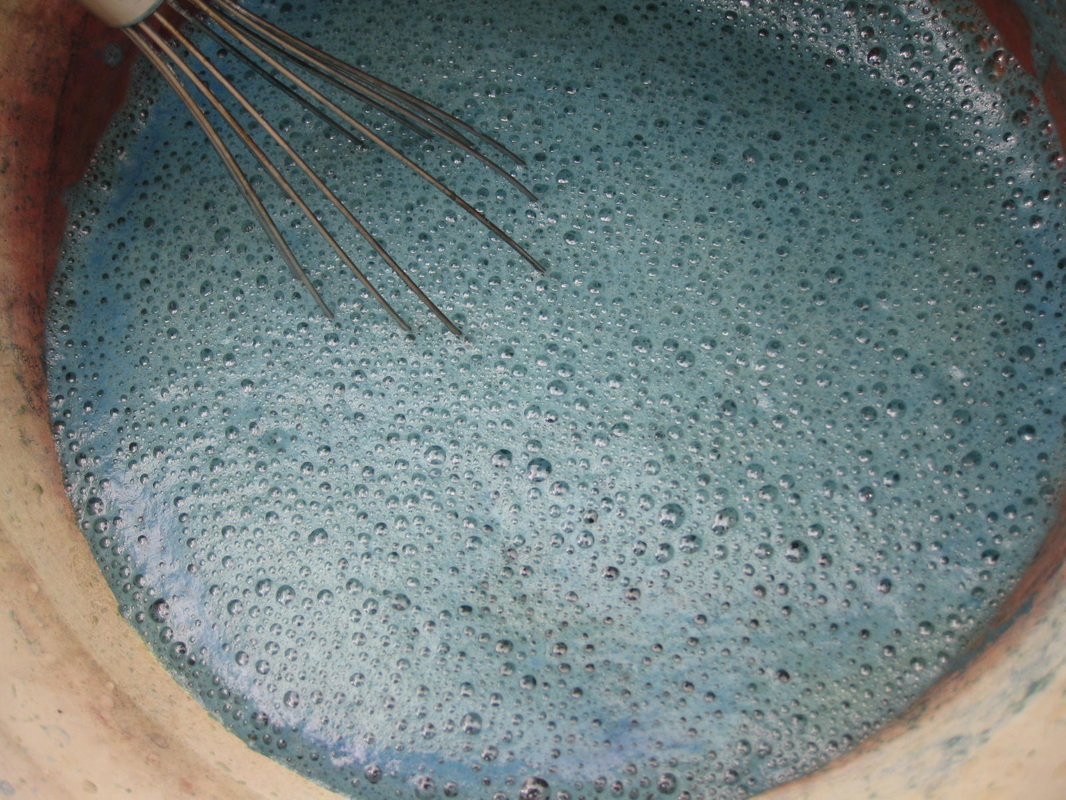
Once again, five guild members gathered in the kitchen and shared experiences of dyeing with plants, whilst the pans gently for about an hour. Extending the range of colours by using the modifiers was new to some.
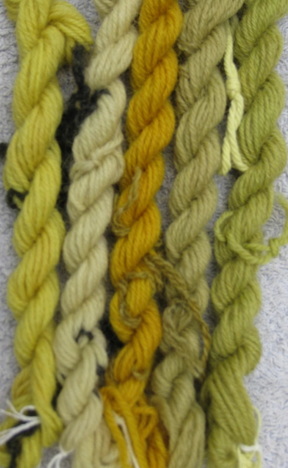
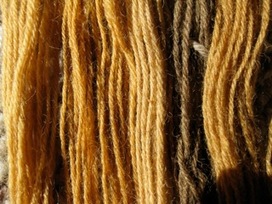
We didn't expect a lot of colour from the fig or beech as the cold soak hadn't yielded any, but in the end we got a good range of soft and subtle shades.
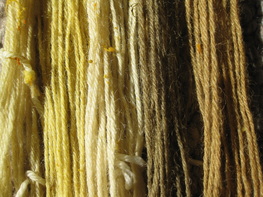
I have got darker yellows from the ivy in the past, but it maybe that I used it at a different time of year. That is one of the fascinations about dyeing with plants - we could try the same plants in the summer and see whether we get different colours.
We didn't expect a lot of colour from the fig or beech as the cold soak hadn't yielded any, but in the end we got a good range of soft and subtle shades.
I have got darker yellows from the ivy in the past, but it maybe that I used it at a different time of year. That is one of the fascinations about dyeing with plants - we could try the same plants in the summer and see whether we get different colours.
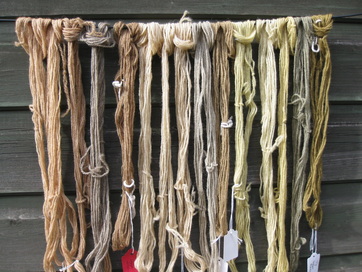
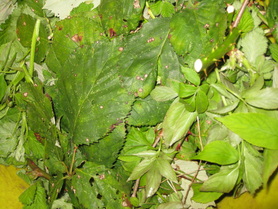
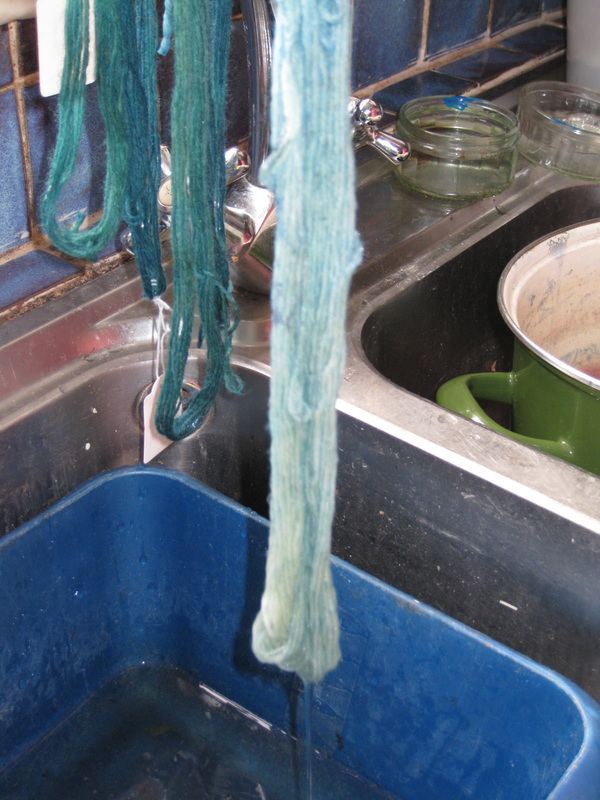
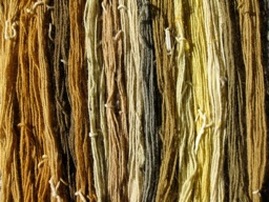
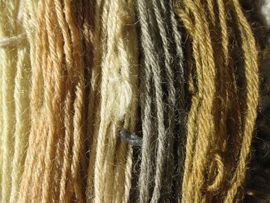
From L - R: Beech, Fig, Ivy
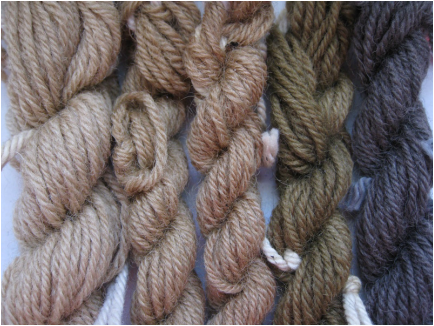
From left - right:
Standard colour, acid modifier, alkali modifier, on copper mordant, iron modifier.
Next dyeing day: Thursday
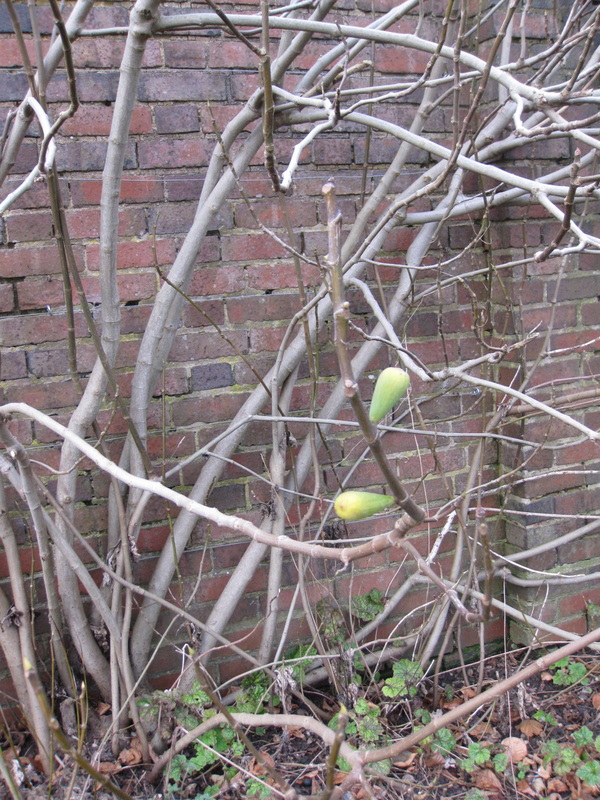
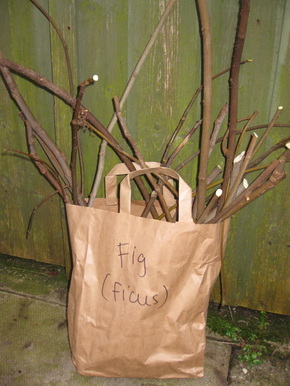
We will be dyeing with fig:
| 
|
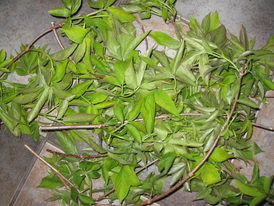
Beech and ivy:
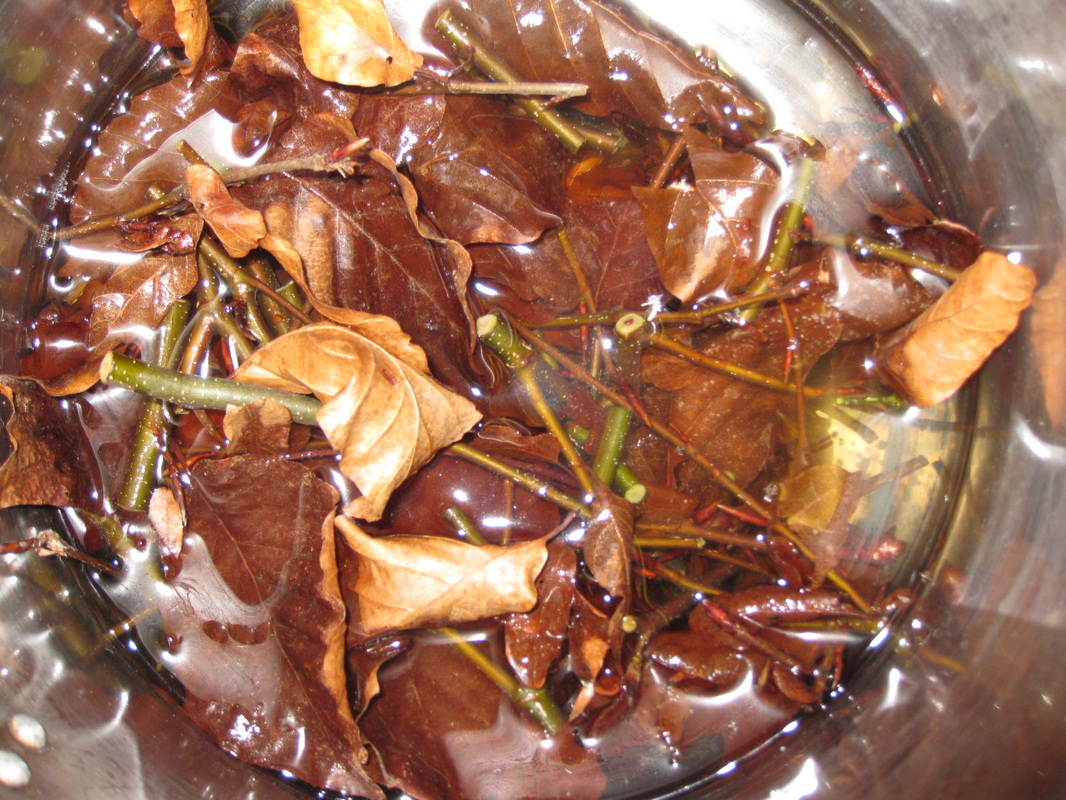
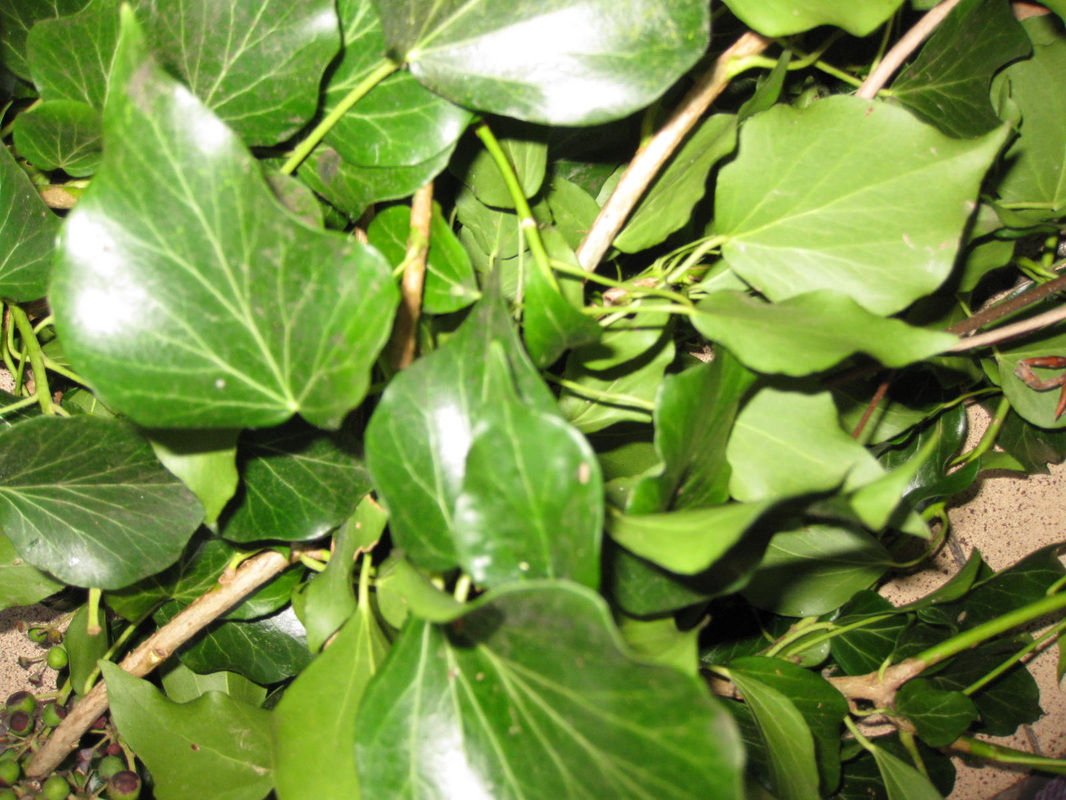
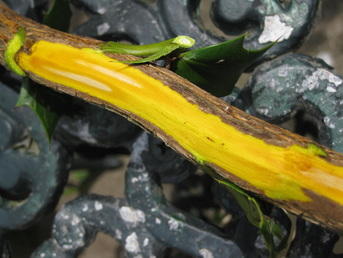
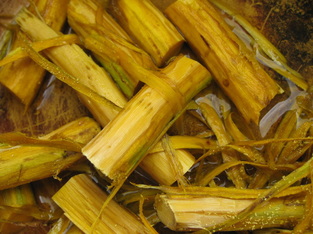
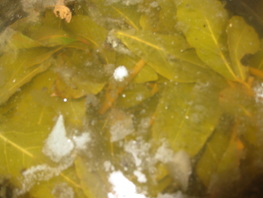
The fig prunings have been soaking for a couple of weeks now and the water is looking, well, scummy, but there is no colour. The oak, which has leaves attached, has been soaking for just a few days, and the ivy will be chopped straight into the dye bath without prior soaking.
But all different shades of brown! Some people may say (and some people DO say) why go to all this trouble to produce shades of brown? Well, partly it is because we are just experimenting with what is available, and what is mainly available in January and February is tree prunings,
and partly it is so satisfying to produce colour, any colour, from plants that are around us. And when they have given up their colour they can go onto the compost heap, so have a pretty low carbon footprint.
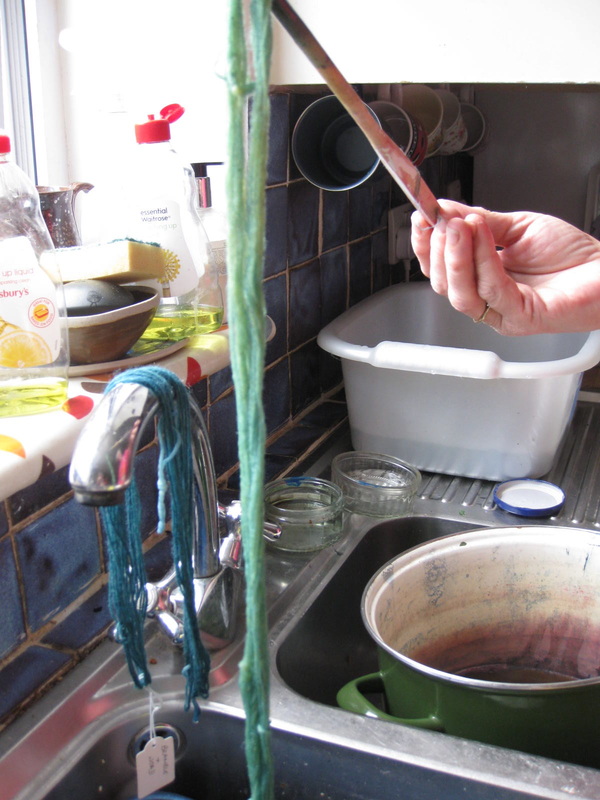
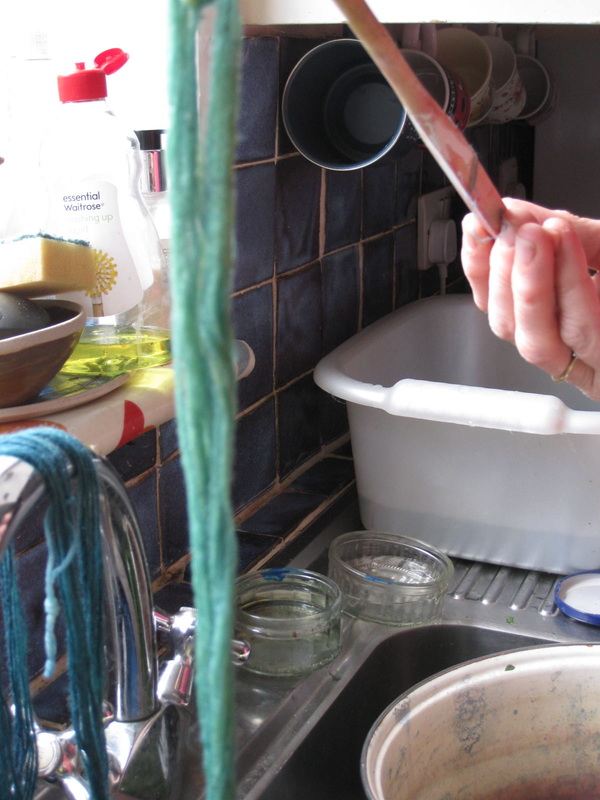
I said in the first post that we would test a skein for lightfastness. Some natural dyes fade quite quickly - they are known as 'fugitive' and some wash out. Sadly, the beautiful berry colours of blackberries, sloes and other fruits fade very quickly. The skeins to be tested will be sandwiched between card, leaving a portion of wool exposed, and left in a sunny window.
and partly it is so satisfying to produce colour, any colour, from plants that are around us. And when they have given up their colour they can go onto the compost heap, so have a pretty low carbon footprint.
I said in the first post that we would test a skein for lightfastness. Some natural dyes fade quite quickly - they are known as 'fugitive' and some wash out. Sadly, the beautiful berry colours of blackberries, sloes and other fruits fade very quickly. The skeins to be tested will be sandwiched between card, leaving a portion of wool exposed, and left in a sunny window.
Archives
December 2015
November 2015
October 2015
September 2015
July 2015
June 2015
May 2015
April 2015
March 2015
February 2015
 RSS Feed
